Installing the Jetpack Plugin for WordPress
 JetPack is free plugin created by the WordPress development team that provides 24 free modules to help increase the functionality of your WordPress site.
WordPress have put a great deal of work into this plugin, and for many WordPress developers it’s become the first plugin they install when deploying a new WordPress site.
In this article we’ll cover how to install the JetPack plugin and what we consider to be the most useful functions for your WordPress site.
Installing the JetPack Plugin
Like other WordPress plugins Jetpack can be installed from right within your WordPress site.
To install it, just go to Plugins > Add New and then type “jetpack” into the search box.

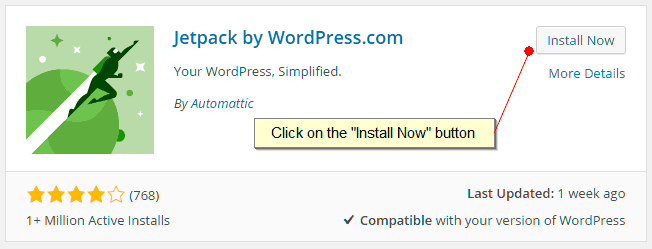
The first item in the return of results will be the JetPack plugin. Click on the Install Now button to begin the installation.
When installation finishes, click “Activate Plugin” button.
Login with your WordPress.com account (or create one) and click “Authorize Jetpack”.
Once you’ve got the plugin activated, it will create its own dashboard nav bar menu section right at the top. Click into it and you’ll be taken to a page that looks like this:
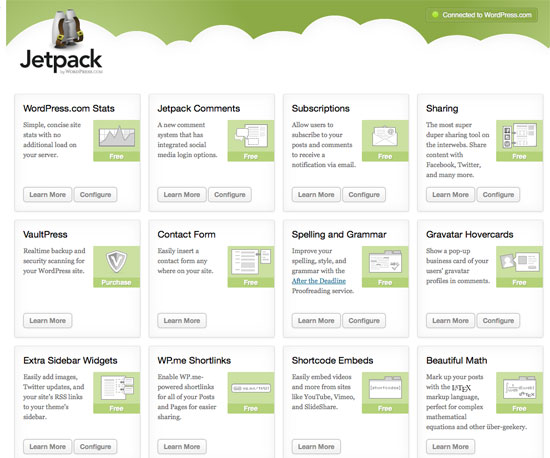
After successfully connecting to your WordPress.com account, a number of Jetpack features will be automatically activated. We would recommend disabling all the active features and just enable only the ones that you require. To disable an active moudle just click on ‘Learn More’ this will cause a ‘Deactivate’ button to appear for that feature.
Since each works differently, you can click on the ‘Learn More’ buttons for specific instructions on using each one. If the module is not activated yet, it will be greyed out, and a blue ‘Activate’ button will allow you to activate the module.
Site Stats
There are a lot of third party plugins and services that provide statistics, but many of them can be overwhelming. Whilst Google Analytics may be the go to tool for in-depth analysis of traffic, many individuals and small business owners might prefer a more direct summary right within the WordPress dashboard.
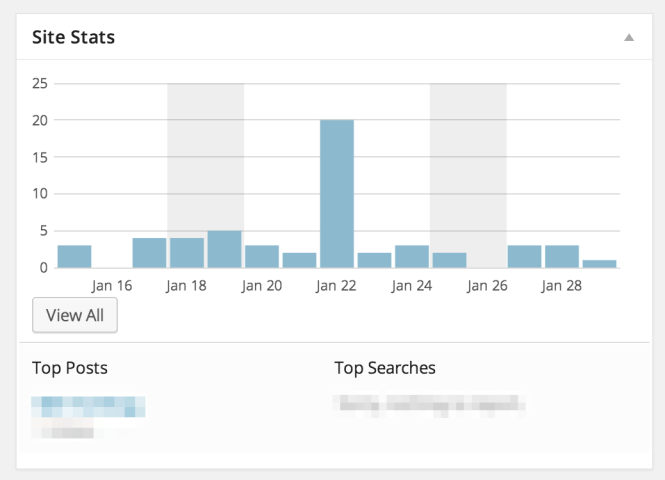
You can view your stats in a number of different ways using Jetpack. On your main Dashboard screen, you can enable the Site Stats widget for your homepage to give you at-a-glance site views.
To add this widget to your Dashboard, open your Screen Options tab and check the Site Stats box.

Then you can see your site visits, most viewed pages, and search terms people used to find your site at a glance.
In addition, with the Jetpack Post Statistics Link companion plugin installed, you get link next to each post in the dashboard that sends you to the stats for that individual post.
Comments
The built-in commenting system for WordPress works well but lacks support for social media login options. Asking visitors to register before than can post comments creates a unnecessary barrier for them when attempting to interact with your site. With the JetPack comments module installed when someone reads an article on your site and wants to comment, they can now use one of their existing social networking accounts to post a comment.
Once the module has been enabled, visitors to your site should see this:

To leave a comment, just click in the box and start typing.

Social Media
Social media integration is important for any web site owner, particularly if you are writing a blog in which you would like to share your articles with the maximum number of readers. JetPack provides both social sharing buttons and a Publicize module to post your new content on your behalf.
Social Media Buttons
Jetpack allows you to incorporate social sharing buttons to any widget area defined in your web site. Through a simple drag and drop interface you can select from a list of the most current social sites in use today.
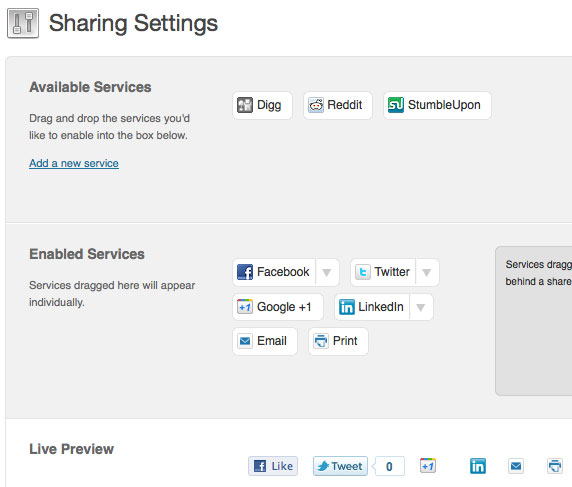
You can see a preview, and other options for customisation are also provided, including the use of the Facebook share button and having text labels attached to each icon of each service placed next to each icon.

Publicize
Publicize is a powerful module that will automatically connect to your social media accounts and post new content on your behalf. It currently supports Facebook, Twitter, LinkedIn, Tumblr, Path and Google+ connections.
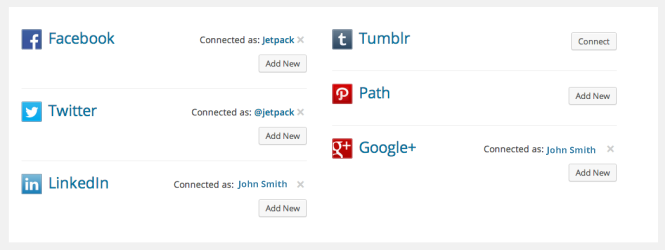
You can connect your site to one of your social network profiles by following these steps:
- Go to Settings → Sharing in your dashboard
- Click on “Connect” next to the Social Network you want to connect to
- Log in to that Social Network site and authorize the connection
Once you’ve approved a connection to any of the services available, you’ll see a Publicize section in the Publish box on your post writing screen each time you write a new post.
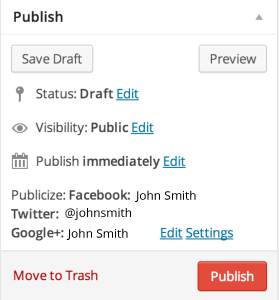
Just publish the post as usual, and you’ll see it show up on the services you enabled.
If you want to opt out from any of the Publicize services for a specific post, just click the Publicize Edit link. You can then uncheck whichever services you want. You can also customize the message that gets sent by typing it in to the Custom Message box.
Enhanced Distribution
With this module you can get your WordPress blog’s content automatically sent out online, without any personal effort or work. Once activated, Jetpack is set up to immediately update online search engines and other services whenever you publish a post.
This is achieved through the use of the WordPress.com firehose service which indexes
thousands of new posts and comments every hour. The firehose platform is intended for partners like search engines and online media providers who would like to ingest a real-time stream of new content from a wide spectrum of publishers.
Every company that receives firehose updates has the opportunity to show your content to more people.
There are many other features in addition to ones that we have listed. What makes Jetpack such a powerful and essential plugin is that there are multiple features that every WordPress user can take advantage of.

