Create a login module in Joomla 1.5
This tutorial will show you how to create a login module in Joomla 1.5
Creating a login module provides your users with a login form that can be placed wherever you choose
1) Click Extensions
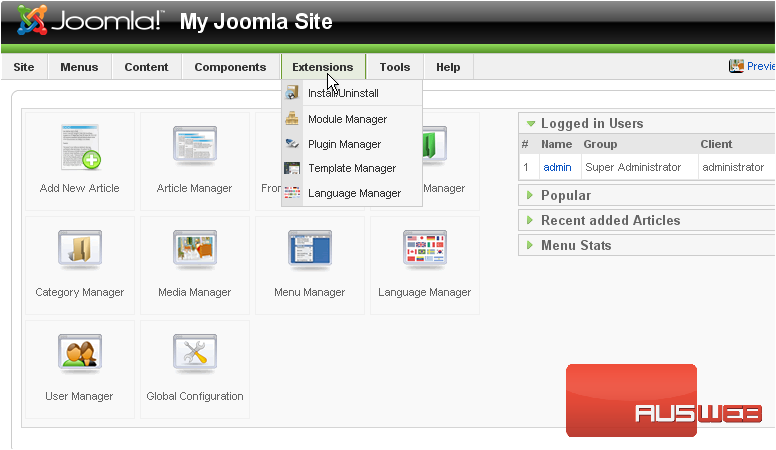
2) Then Module Manager
Scroll right
3) Click New
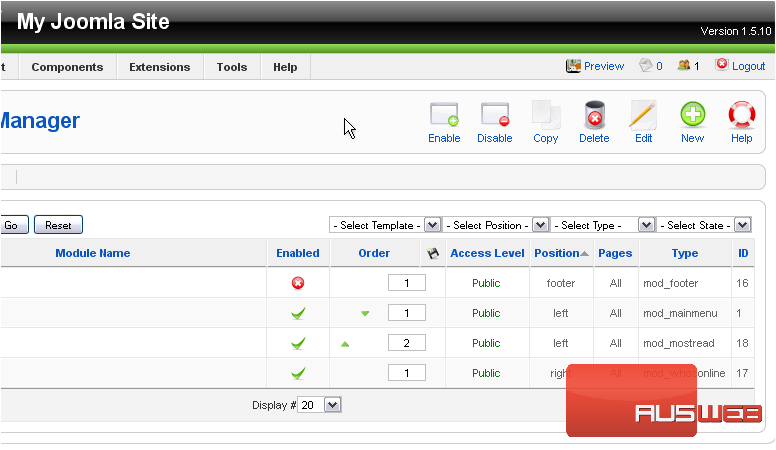
Scroll down
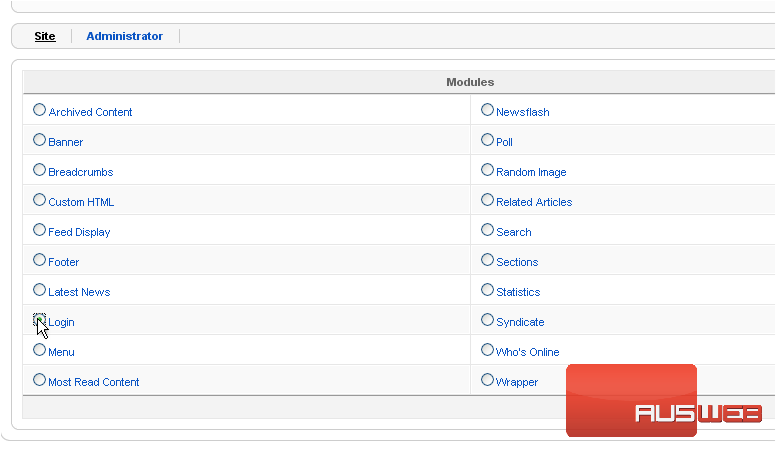
4) Select Login
Scroll up and right
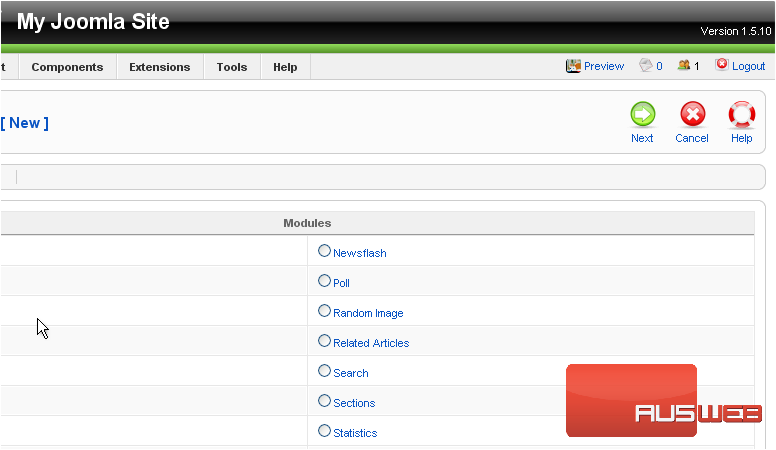
5) Click Next
6) Enter a Title
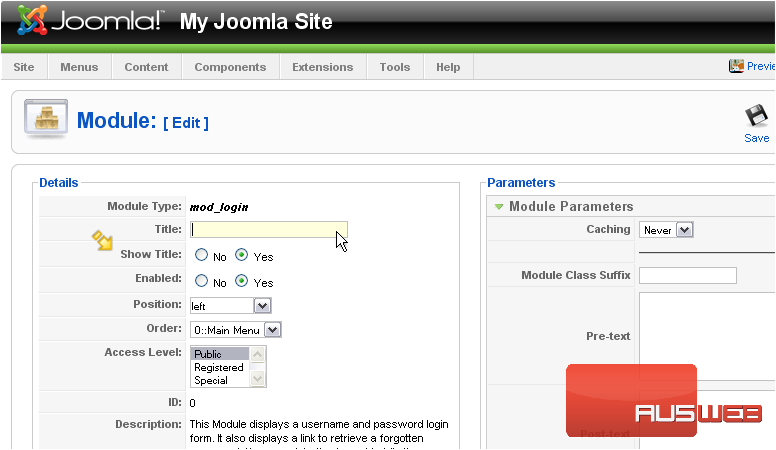
If Show Title is set to Yes, the module name will be displayed on the front-end
7) Choose the position where the module should be displayed on the page
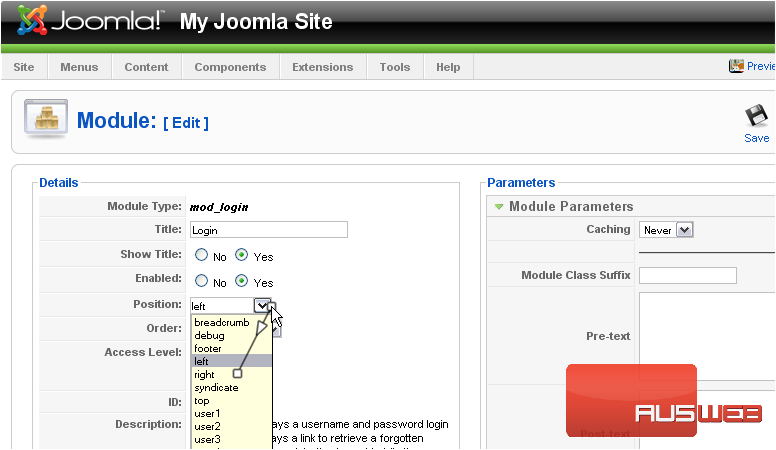
8) Set the order this module will display in
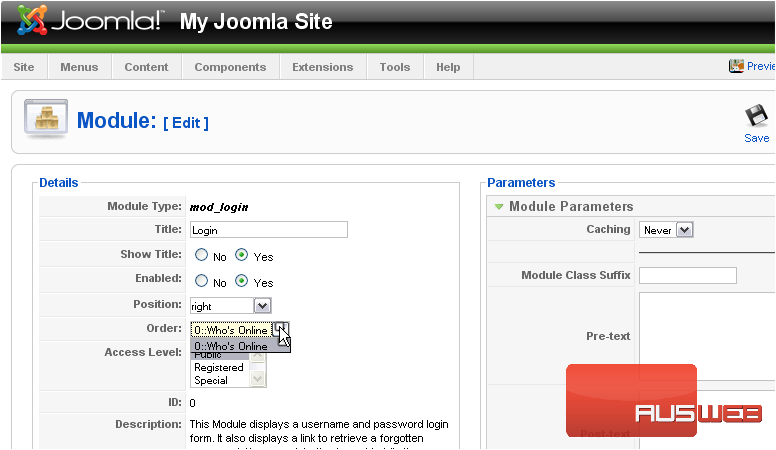
Scroll down
Here, you can set the menu in which this module will display
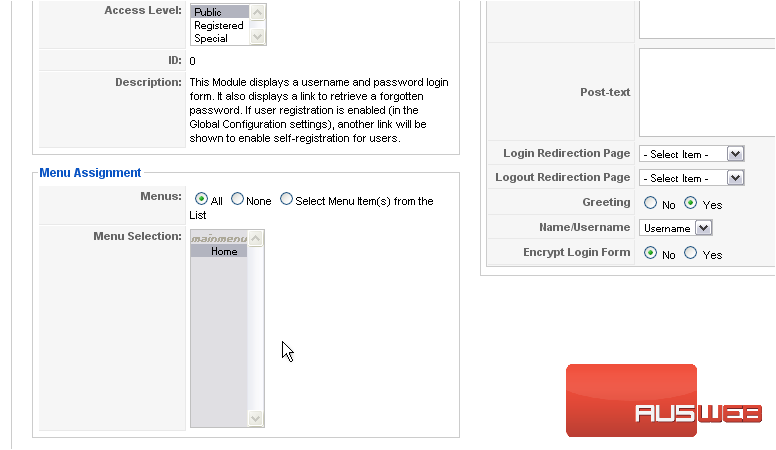
Scroll up and right
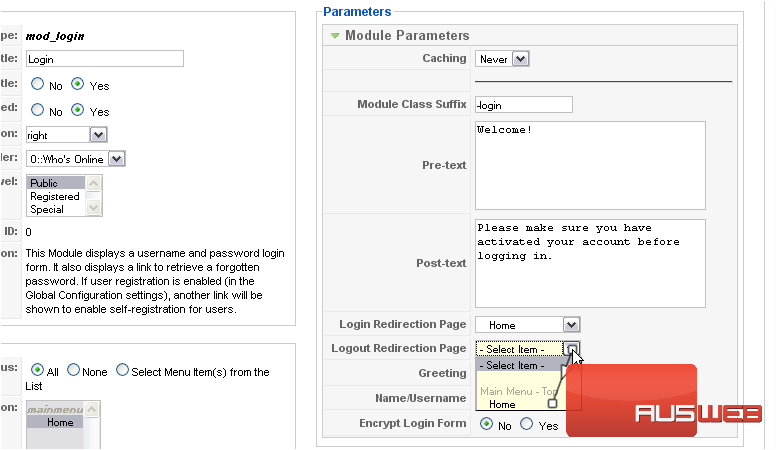
9) Enter the suffix for the CSS class of this module
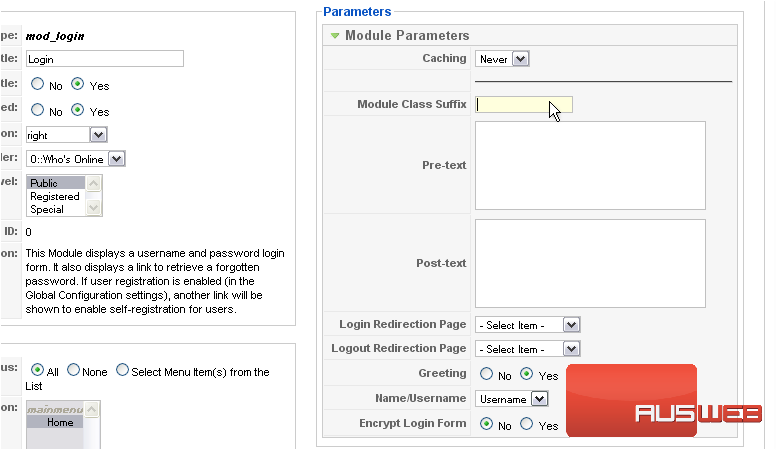
In this example, the CSS class name of this module would be .module-login
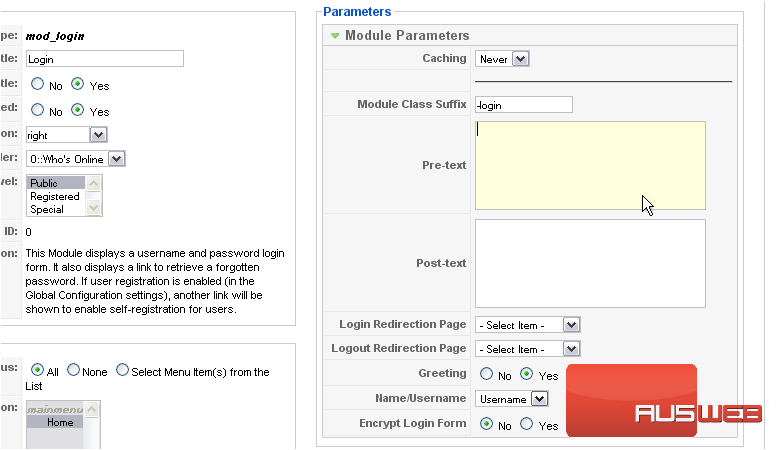
10) The Pre-Text is what shows up prior to the Username field
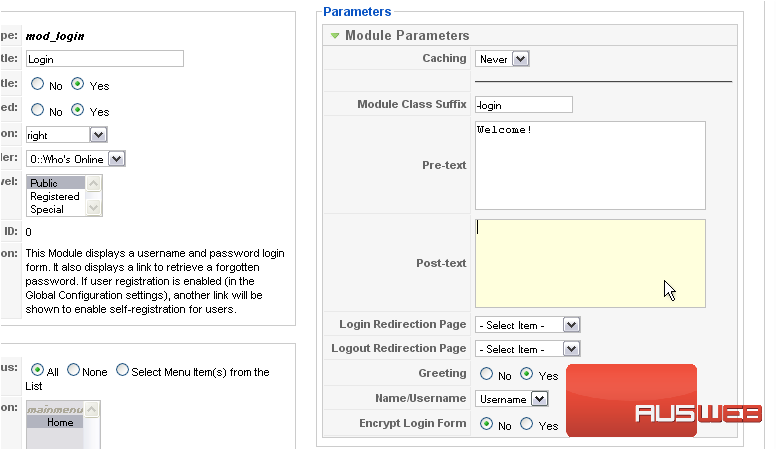
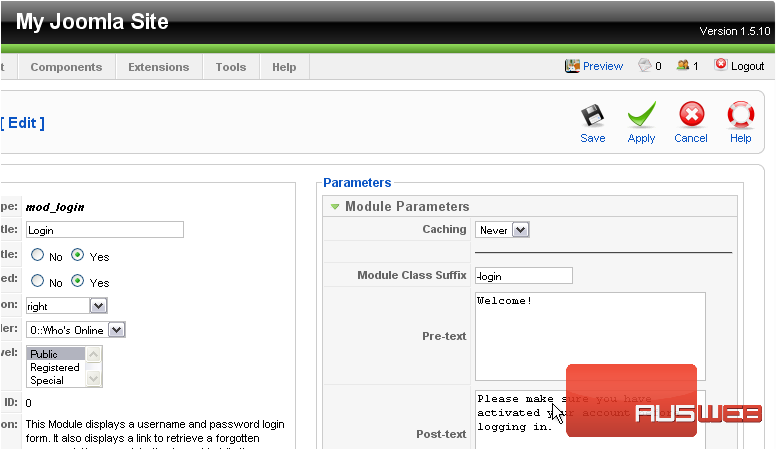
11) The Post-Text allows you to place a short message after the registration link
12) You can choose the page the user will be redirected to after logging in
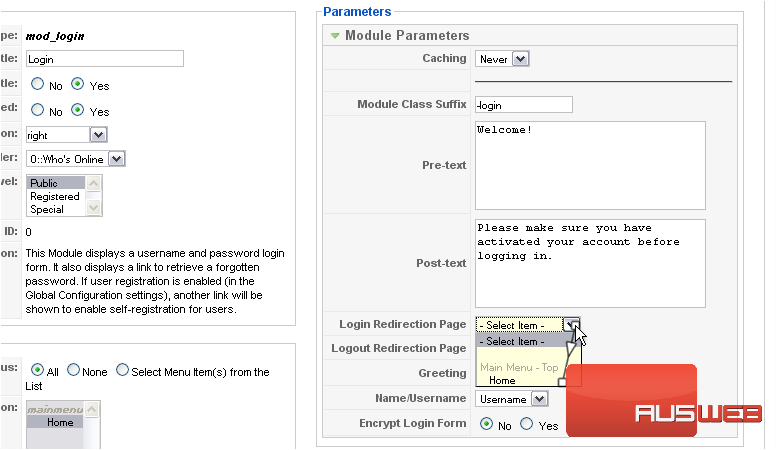
13) Also, you can choose a page the user will be redirected to when they log out
Scroll up
14) Click Save
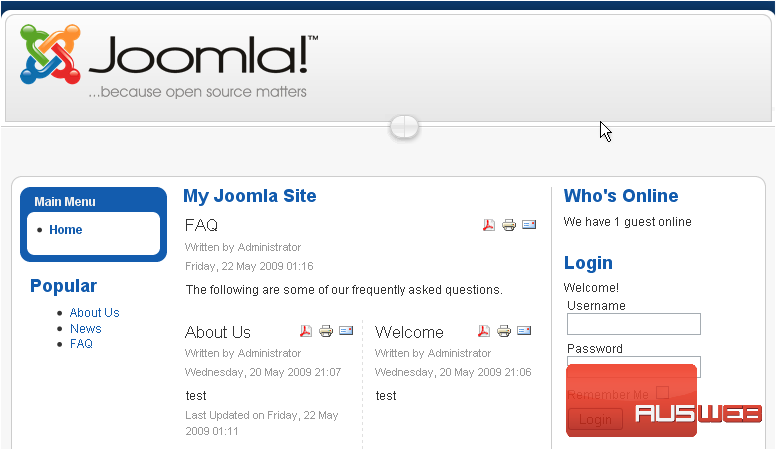
The login module will now appear on the front-end. Let’s go to our Joomla site
Scroll down
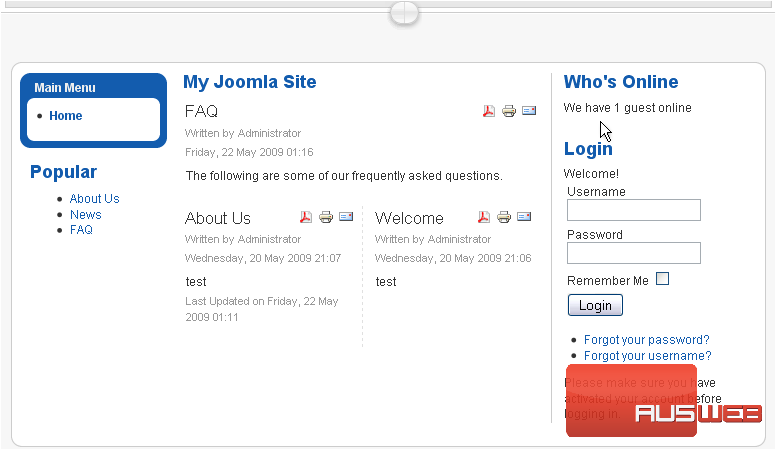
The Login form we created shows up here along with the pre-text and post-text we added
That’s it! You now know how to create a login module in Joomla

