Outlook Email Configuration
This guide will assist you in your Outlook 2010 Email Configuration
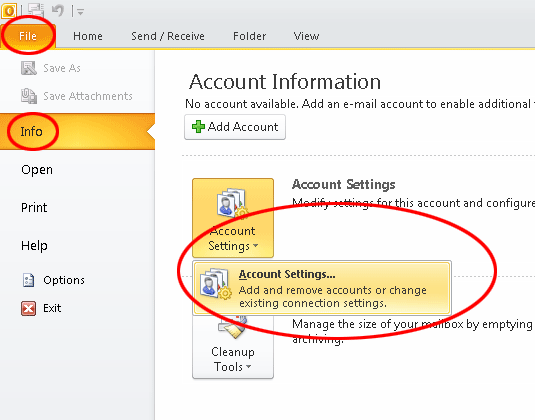
1. Select File from the top menu, then select Info from the dropdown menu
2. Click on Account Settings
3. Select the Account Settings (Add or remove accounts) option from the subsequent dropdown menu
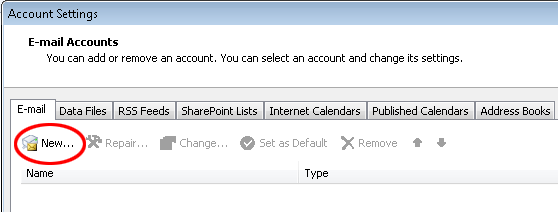
4. In the Account Settings dialog, click New
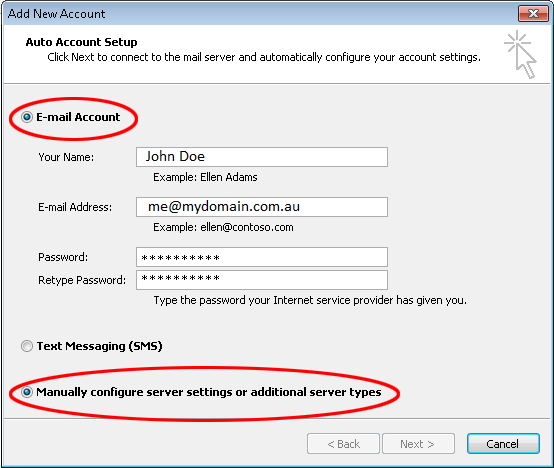
5. Select the Email Account radio button fill in your name, Email address and password.
6. Select the Manually configure server settings or additional server types radio button and click [Next]
7. Select the Internet Email (POP/IMAP) radio button and click [Next]
What’s the difference between POP and IMAP? See this article, it’s worthwhile knowing if you use email for business purposes.
8. Fill in the Internet Email Settings fields:
Your Name:
E-mail Address: [email protected]
Account Type: POP3 or IMAP
Incoming mail server:mail.mydomain.com.au
Outgoing mail server: Your Internet Service Provider’s (ISP) outgoing mail server (eg.
mail.optusnet.com.au)
Logon User Name: Your FULL email address
Password: Your super-duper secure password
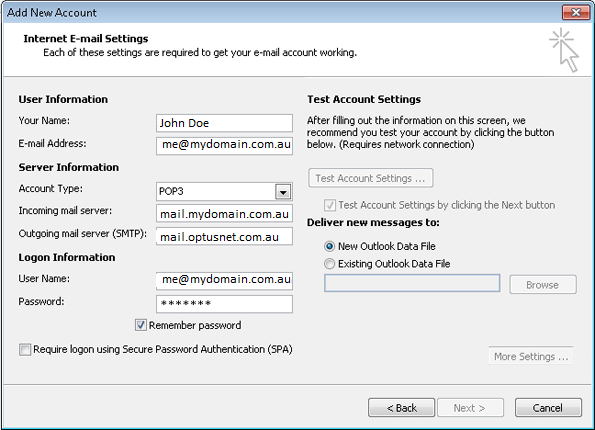
9. Click Test Account Settings … to verify all the settings are correct.
If the “Logon to incoming mail server” fails, verify you have the correct incoming mail server entered.
If the Test Mail fails, double check your outgoing mail server settings with your ISP.
10. Once the test completes, click [Next] and then [Finish] to save the email settings.
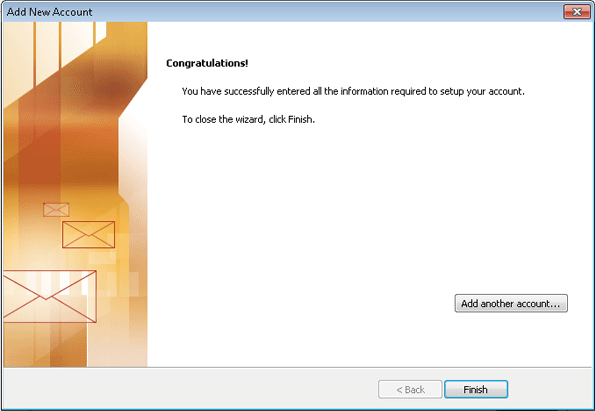
This completes the setup of your email in Microsoft Outlook 2010.

